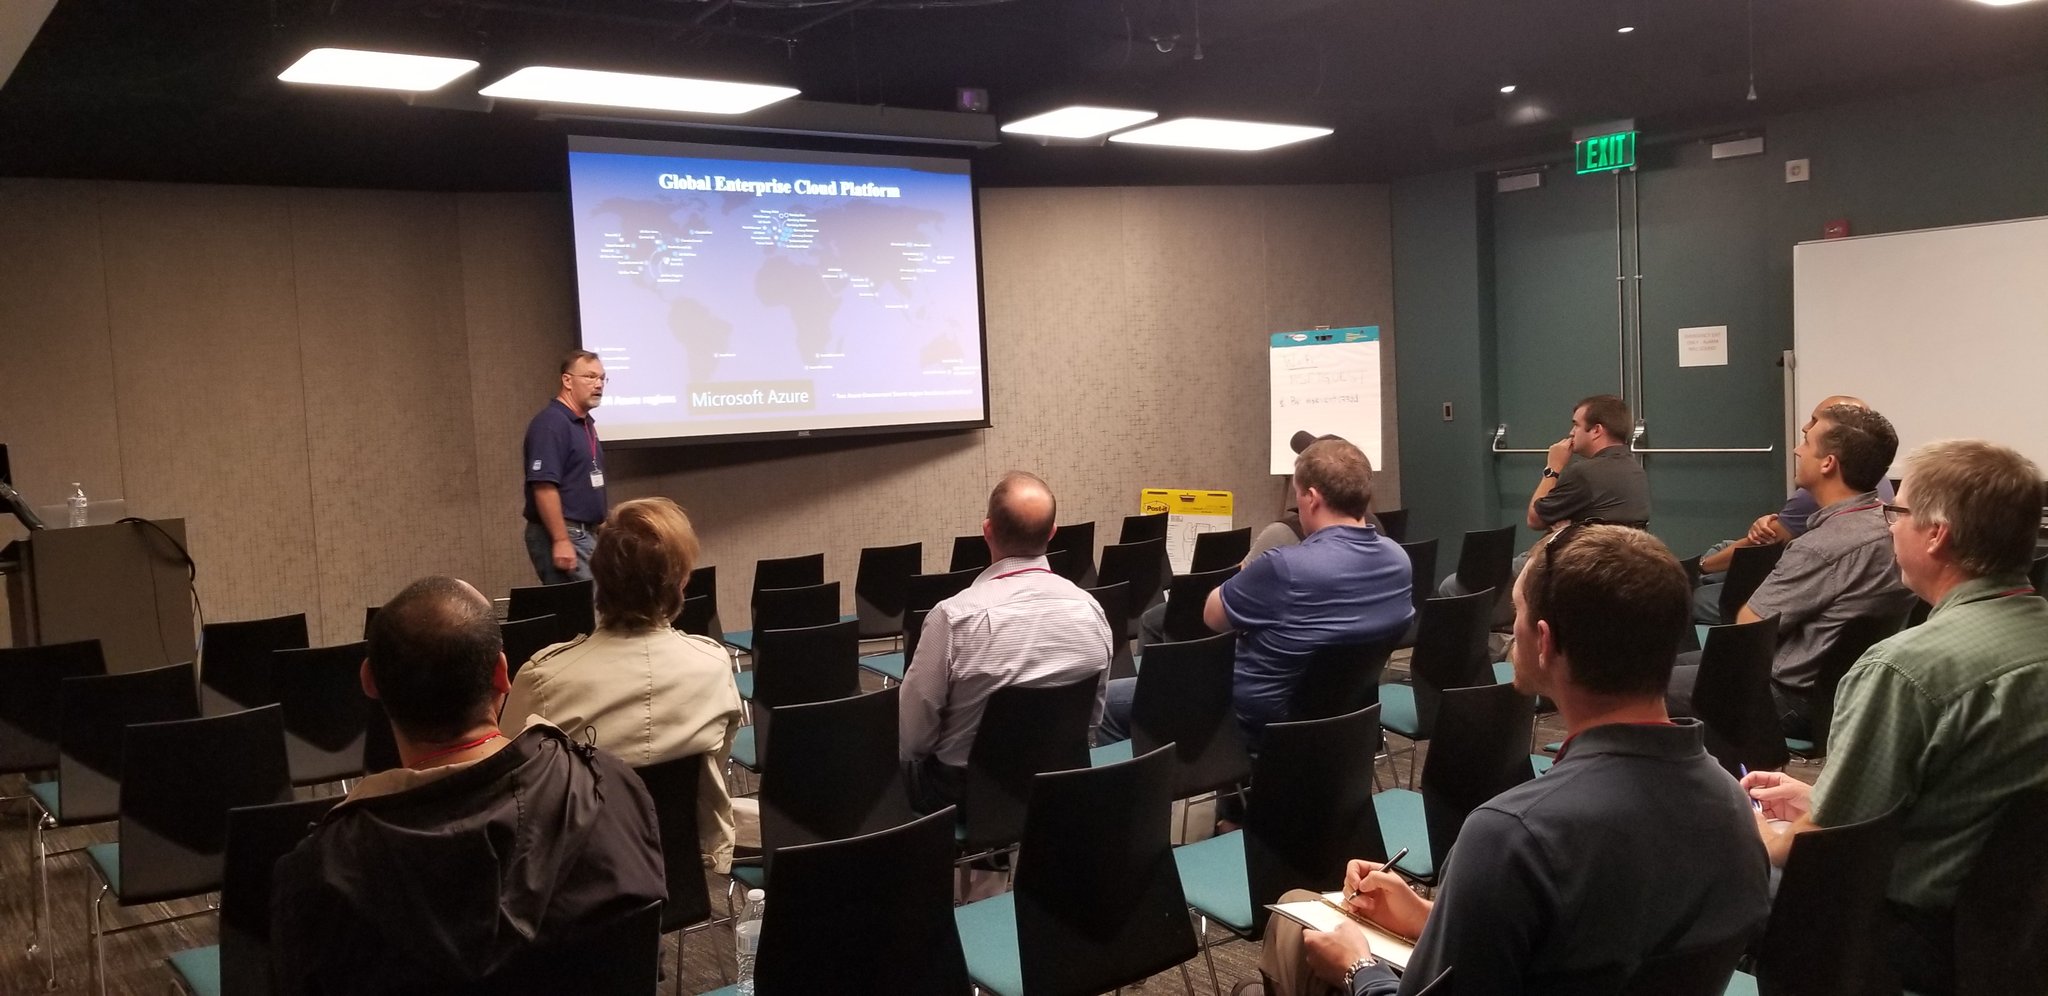
The March 28 Virtual Boston Azure was headlined by Pamela Fox from Microsoft. She explained all about the RAG pattern which is commonly used for building effective applications based on Large Language Models (“LLMs”) and Generative AI (“GenAI”). Pamela shared many superb insights, including lots of depth, while answering a ton of interesting follow-up questions. Was a fantastic talk. Boston Azure has a YouTube channel at youtube.com/bostonazure where you can find recordings of many past events. Pamela Fox’s talk is available there as the 48th video to be posted to the channel.
After Pamela’s talk around 15 people stuck around to participate in our first ever “AI mini-workshop” hands-on experience. The remainder of this post is about that mini-workshop.
The AI mini-workshop was a facilitated hands-on coding experience with the following goals:
1. Demystify Azure OpenAI
As background, OpenAI’s ChatGPT burst onto the scene in November 2022. That led to an explosion of people learning about AI and associated technologies such as “LLMs” which is the common shorthand for Large Language Models.
The vast majority of people interact with LLMs via chat interfaces such as available from OpenAI’s public version of ChatGPT or via Copilot on Microsoft Bing search. There’s also a more integrated programming experience surfaced through GitHub Copilot for use with VS Code and several other popular IDEs.
But what about programming your own solution that uses an LLM? Microsoft has done a great job of providing an enterprise-grade version of the OpenAI LLM as a set of services known as Azure OpenAI.
The first goal of this AI mini-workshop was to demystify this programming experience.
This was accomplished by giving the mini-workshop participants a working C# or Python program that fit on a page. And there are only around 10 lines of meaningful code needed to interact with the AI service. This is NOT that complex.
Creating a production-grade application has additional requirements, but at its core, it is straight-forward to interact with Azure OpenAI service programmatically.
The hoped for “Aha!” moment was this:
Aha #1! I can do this! I can programmatically interact with the Azure OpenAI LLM. It isn’t that mysterious after all.
Aha #2! This is possible without much code! In the Python and C# solutions shared there were only around 10 lines of core code.
2. Understand Some AI Concepts
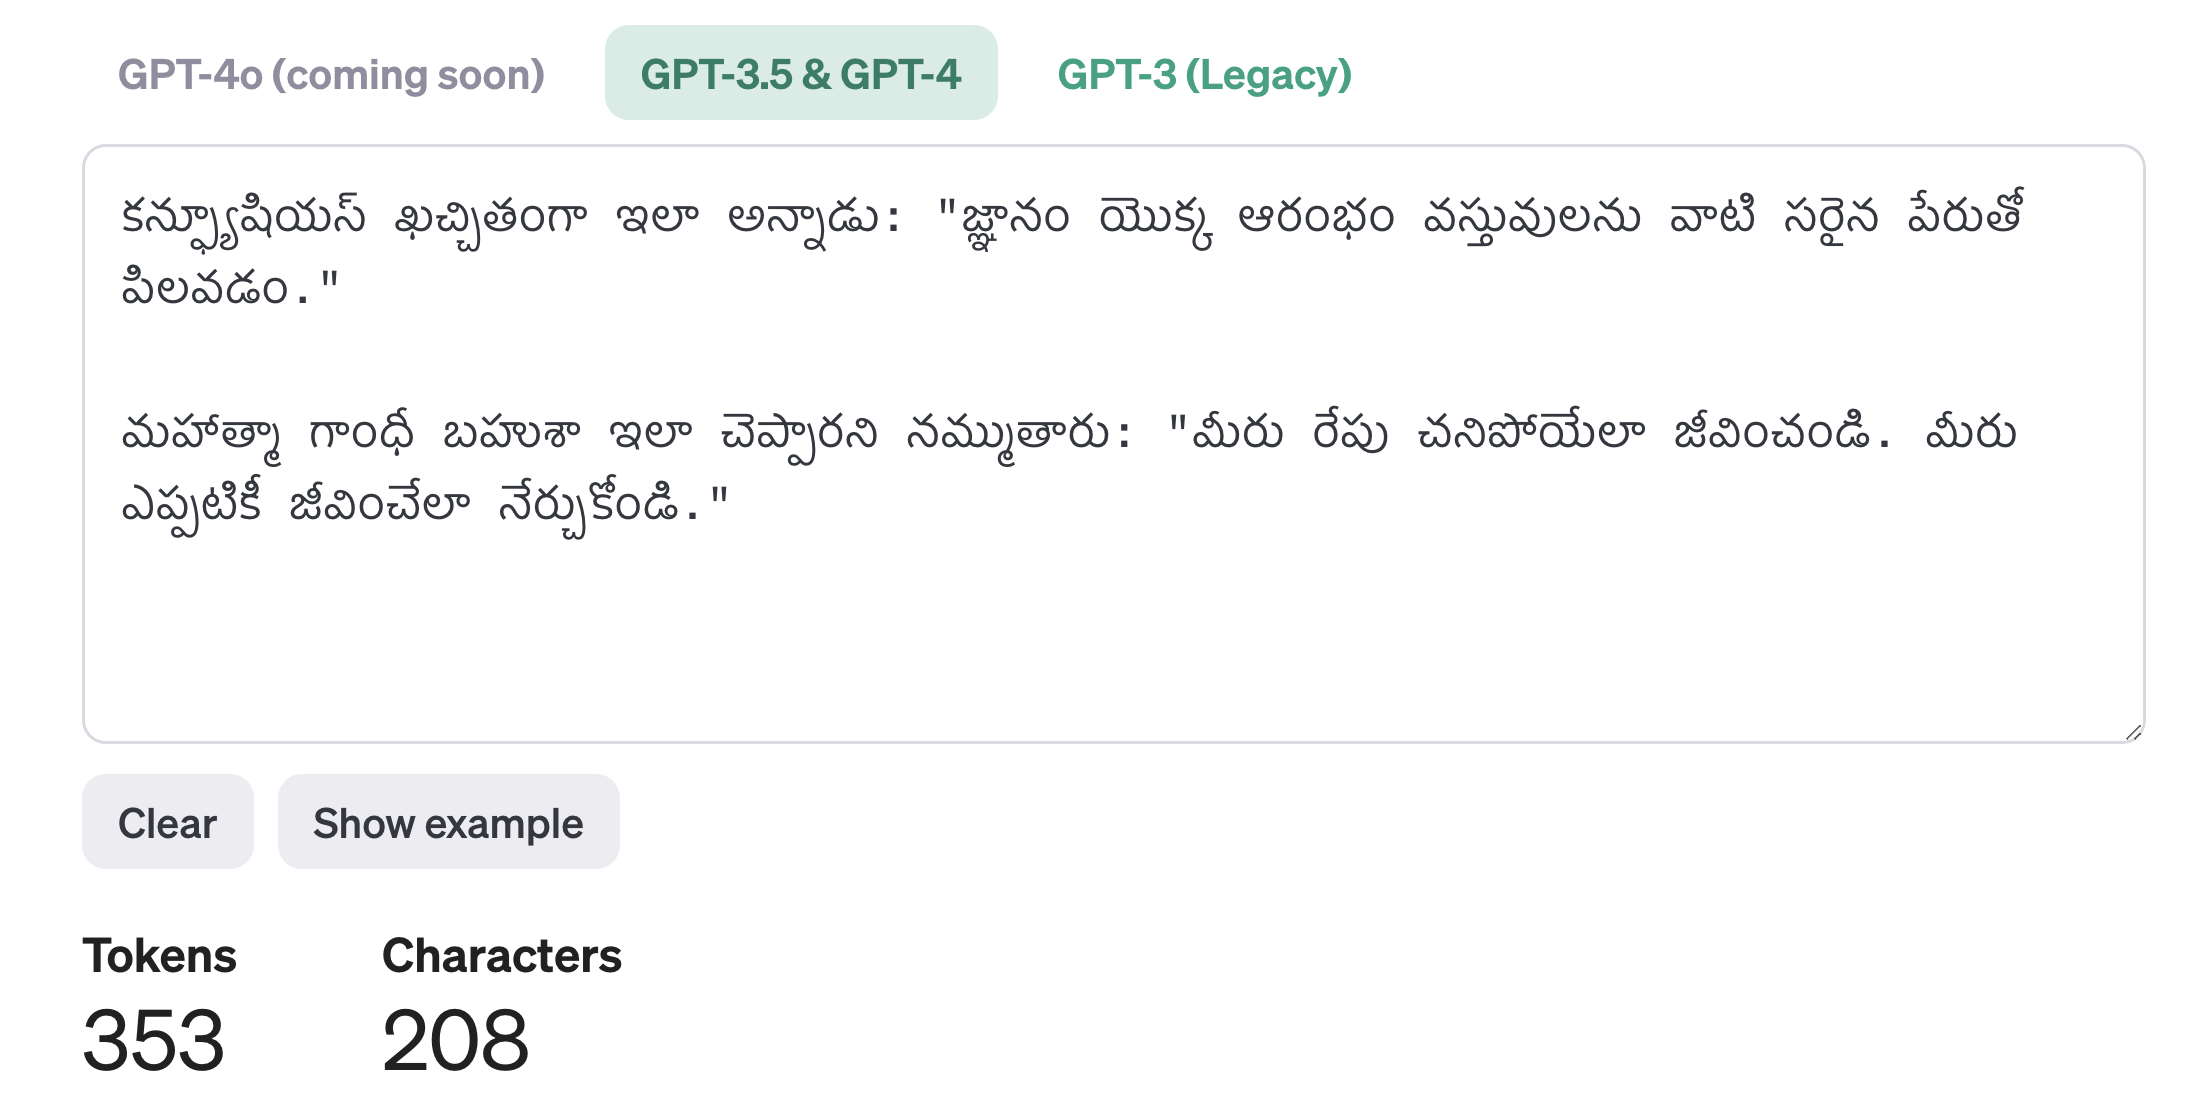
Part of the mini-workshop exercise was to recognize a hallucination and fix it through some additional grounding using a very simple form of RAG.
The hope here is for some “Aha!” moments:
Aha #3! Here’s a concrete, understandable example of a hallucination!
Aha #4! And here’s a concrete, simple example use of RAG pattern to better ground the AI so that it no longer hallucinates about today’s date! But do note that other hallucinations remain…
3. Wield Great Power
The ability to program a LLM to generate unique content is something that essentially NO DEVELOPER COULD DO, EVER, before the super-powerful LLMs that were developed at costs of hundreds of millions of dollars and democratized by the Microsoft Azure OpenAI services (as well as by OpenAI themselves).
The hands-on AI mini-workshop required either (a) a functional Python 3 environment, or (b) a functional C#/.NET environment – everything else was provided, including sufficient access to the Azure OpenAI LLM service to complete the mini-workshop.
But in the end with very little coding you can get to the 5th Aha! moment which is:
Aha #5! I have at my command capabilities that have not been possible in all of the history of computers. The magic of LLMs available via Azure OpenAI gives me superpowers that we are only in the very beginning of understanding the ways this can be put to use.
The source code for the AI mini-working is available here. Note that the API key has subsequently been rolled (invalidated), but the code works pretty well otherwise. 🙂
My original thinking was to distribute the keys separately (like this). If this was an in-person workshop I would have kept the configuration values separated from the source, but given the added challenge of doing this with an online distributed audience I decided to simplify the mini workshop by included the configuration values directly in the source code. Looking back, I believe it was a good concession for minimizing obstacles to learning. So I’d do it again next time.